Your cart is currently empty!
Mastering Elegance: A Guide to Herringbone Flooring Installation
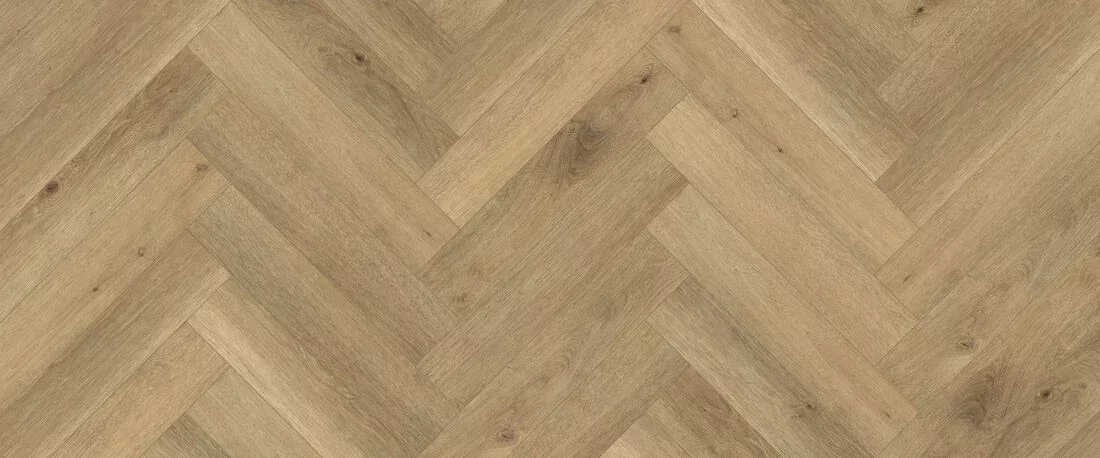
Herringbone flooring, with its classic and intricate pattern, adds a touch of timeless elegance to any space. However, the installation process can be a bit more involved compared to traditional flooring patterns. In this post, we provide a step-by-step guide for herringbone flooring installation, ensuring that you achieve a flawless result that showcases the beauty of this sophisticated pattern.
Step 1: Preparation is Key Before diving into the installation, ensure that the subfloor is clean, level, and dry. Address any imperfections and make necessary repairs to create a smooth surface. Herringbone flooring can be installed over various subfloor types, including plywood and concrete, but proper preparation is crucial.
Step 2: Gather Your Tools and Materials Having the right tools is essential for a successful installation. You’ll need a miter saw, tape measure, spacers, adhesive or nails (depending on the type of herringbone flooring), a trowel, and a rubber mallet. Ensure you have enough herringbone flooring material and that the planks are acclimated to the room’s humidity.
Step 3: Establish a Starting Point Determine the starting point of your herringbone pattern, typically in the center of the room. This central point will guide the layout, ensuring symmetry and a balanced aesthetic. Use chalk lines to create reference lines for accurate placement.
Step 4: Lay the First Plank Begin laying the first plank along the reference lines, following the herringbone pattern. Apply adhesive or use nails to secure the planks, depending on the type of flooring. Use spacers to maintain consistent gaps between planks for expansion.
Step 5: Cut Planks for the Pattern As you progress, you’ll need to cut planks to fit the herringbone pattern. Precise measurements and angled cuts are crucial for achieving a seamless look. Use a miter saw for accurate cuts and ensure a snug fit.
Step 6: Stagger Rows Continue laying planks, staggering the rows to create the herringbone pattern. Check regularly for alignment and adjust as needed. The staggered arrangement is key to the distinctive look of herringbone flooring.
Step 7: Secure the Last Rows As you approach the walls, you may need to cut planks to fit. Ensure a snug fit against the walls and secure the final rows in place. Allow proper expansion gaps around the perimeter.
Step 8: Finishing Touches Once the installation is complete, remove spacers, and clean any adhesive residue. Perform a final inspection to ensure all planks are securely in place, and the herringbone pattern is visually cohesive.
Conclusion: Herringbone flooring installation requires precision and attention to detail, but the end result is a stunning, sophisticated pattern that enhances the aesthetic appeal of your space. Whether you choose a DIY approach or enlist professional help, mastering the art of herringbone installation ensures a floor that radiates timeless elegance.